In part 1 of this series, we looked at the steps involved in creating a basic Android app which included a Keyman in-app keyboard. In this post, we’ll work with the second sample included in the Keyman Engine for Android package, which is a very basic System Keyboard app. This post builds on concepts and setup from the first post, so be sure you are familiar with that before you start on this one.
1. Basic configuration
Extract the KMSample2.zip archive from the downloaded Keyman Engine for Android archive, and expand it to your new project folder. You’ll need to add your license details to the setKeymanLicence call, as described in part 1; note that the setKeymanLicence call is now made from the SystemKeyboard class, not in MainActivity.
2. Run the sample app
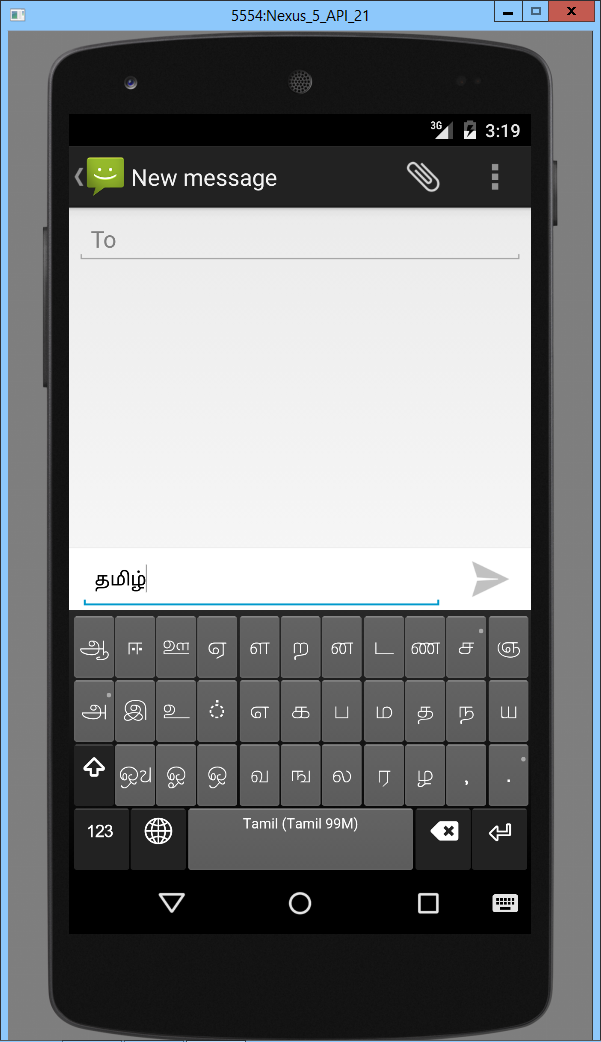
The app as it stands includes the Tamil99M keyboard, as an example keyboard. Without any further modifications, the app should run and you’ll be able to configure your device to use your app as the system keyboard.
3. Extending the app
From here, you will no doubt want to replace the keyboard with your own one; again, follow the instructions from Part 1 to make this change.
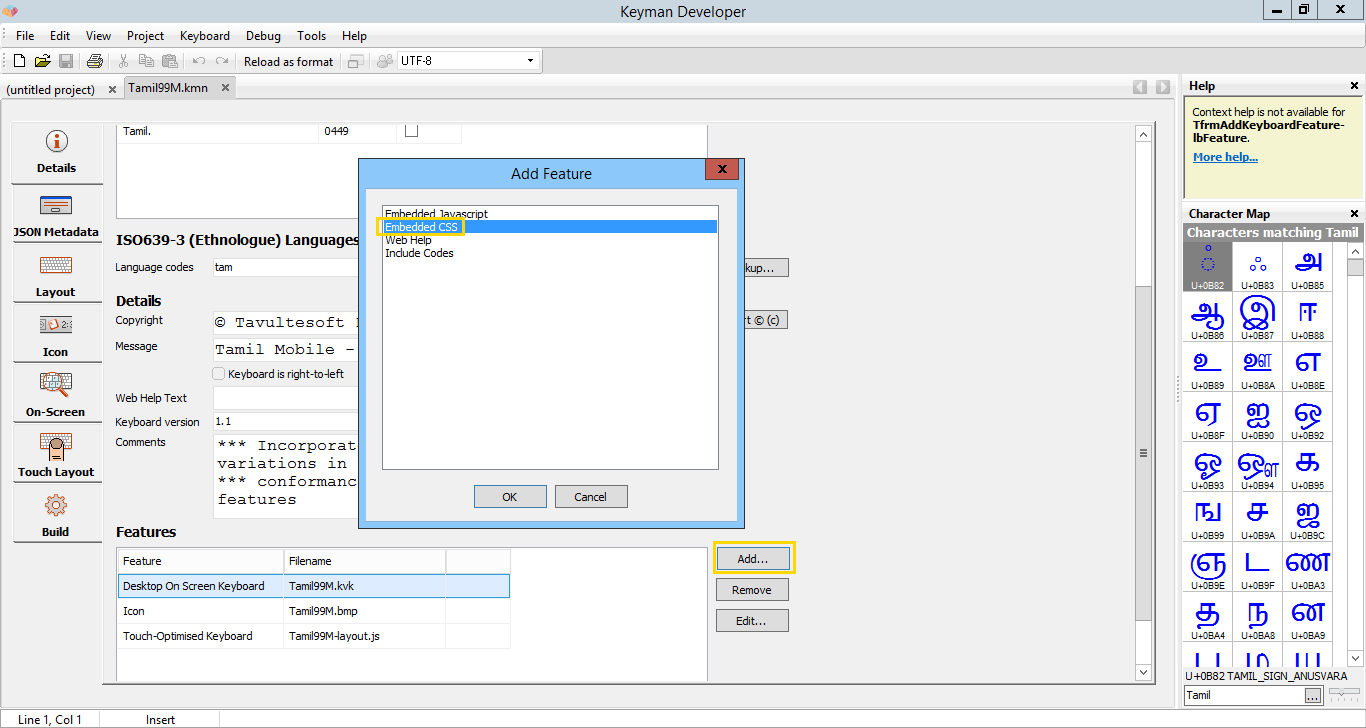
You can also customise the look and feel of the on screen keyboard by including a custom CSS file in your keyboard through Keyman Developer.

The CSS rules required to style your keyboard are beyond the scope of this post, but the kmwosk.css file included in the Keyman Developer 9.0 distribution, or in the KeymanWeb 2.0 source is a good place to start.
Do take the time to read through the source of KMSample2, as it includes some boilerplate code required to link Keyman Engine through to the Android Input Method services and vice versa.
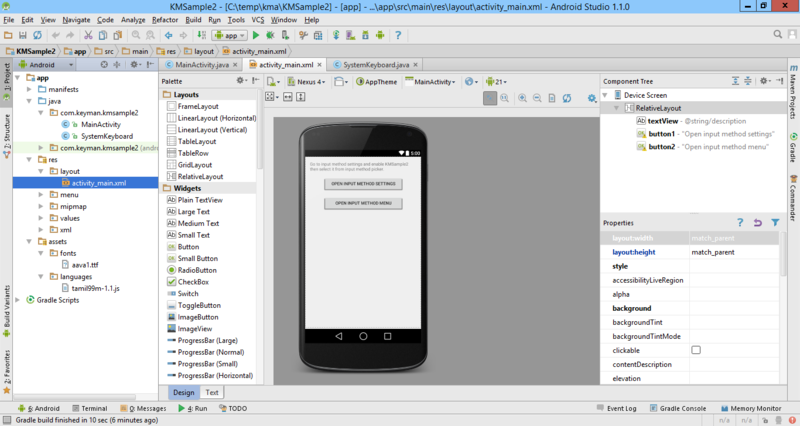
Finally, you will want to improve the style and branding of the main activity in KMSample2. The sample includes just two buttons to link to the Android Input Method Settings and Input Method Menu, as a pointer to the two configuration steps that your users will need to undertake in order to start using your keyboard.
You will probably want to make that a lot prettier, and include more detailed instructions!
That’s all there is to creating a System Keyboard with Keyman Engine for Android. We’ve taken care of all the complex details of keyboarding in the Keyman Engine, so you can focus on the look and feel and the layout of your keyboard.


0 thoughts on “Using Keyman Engine for Android to create a system keyboard”